Hash Interactive Releases Gatsby Reactor Theme
March 6th 2020
Hash Interactive is proud to release the first version of the open source theme for Gatsby Js the Reactor Theme. The intent of this theme is to allow the opportunity for developers, software engineers and UI/UX designers to have their own portfolio website which is professional, creative and informational. The theme is customizable, with the ability for future versions to allow for greater customization. Below is the information for a Gatsby setup and Gatsby theme installation that utilizes the Gatsby Reactor Theme.
Gatsby Reactor Theme
The Reactor Theme is a theme for Gatsby JS sites. Gatsby themes are plugins (npm packages) that add pre-configured functionality and UI to a basic Gatsby sites. This theme is a portfolio theme for software engineers, developers and UI designers to use as a personal Curriculum Vitae. It is open source with MIT license and can be used for both personal and commercial use.
View the Demo Site Here
Theme Requirements & Setup
We will walk through the setup and installation for the theme and requirements for deployment. Since this is a Gatsby theme we will need to create a basic Gatsby site. First, create your project folder: mkdir my-porfolio and cd into your new directory cd my-portfolio. We can run a yarn init to create a package.json for our module dependencies: yarn init -y.
We need to add some dependencies to our project:
yarn add react react-dom gatsby @hashinteractive/gatsby-theme-reactor
We also need to add some scripts to our package.json for gatsby develop and build commands. In our package.json we can add
We will use these script for development and for our build command for deployment. And also
gatsby cleanto clear the gatsby .cache when necessary.
{
  "name": "my-portfolio",
  ...
  "scripts": {
    "develop": "gatsby develop",
    "build": "gatsby build",
    "clean": "gatsby clean"
  },
  ...
}
Required Files
The Gatsby Reactor Theme requires a few files that you will need to define before you start the development server or gatsby build command:
- gatsby-config.js at the root of the project directory
- Bio.json located at
/src/data/Bio.json - Project.json located at
/src/data/Project.json - profile.jpg and profile-alt.jpg located at
/src/data/images/profile.jpgand/src/data/images/profile-alt.jpg
You can find and example of the
Bio.jsonfile andProject.jsonfile in this project’s repository here: github.com/hashinteractive/gatsby-theme-reactor/src/data
Gatsby Config
You will need to create a file in the root of your project called gatsby-config.js and define the @hashinteractive/gatsby-theme-reactor as a plugin dependency:
module.exports = {
  plugins: [
    '@hashinteractive/gatsby-theme-reactor'
  ],
  // define the title in siteMetadata to change site name
  siteMetadata: {
    title: `My Site Name`
  }
}
You can also change the name of the site (found in the header) in this file by defining the
titleproperty insiteMetadataproperty in thegatsby-config.jsfile:
Bio Json
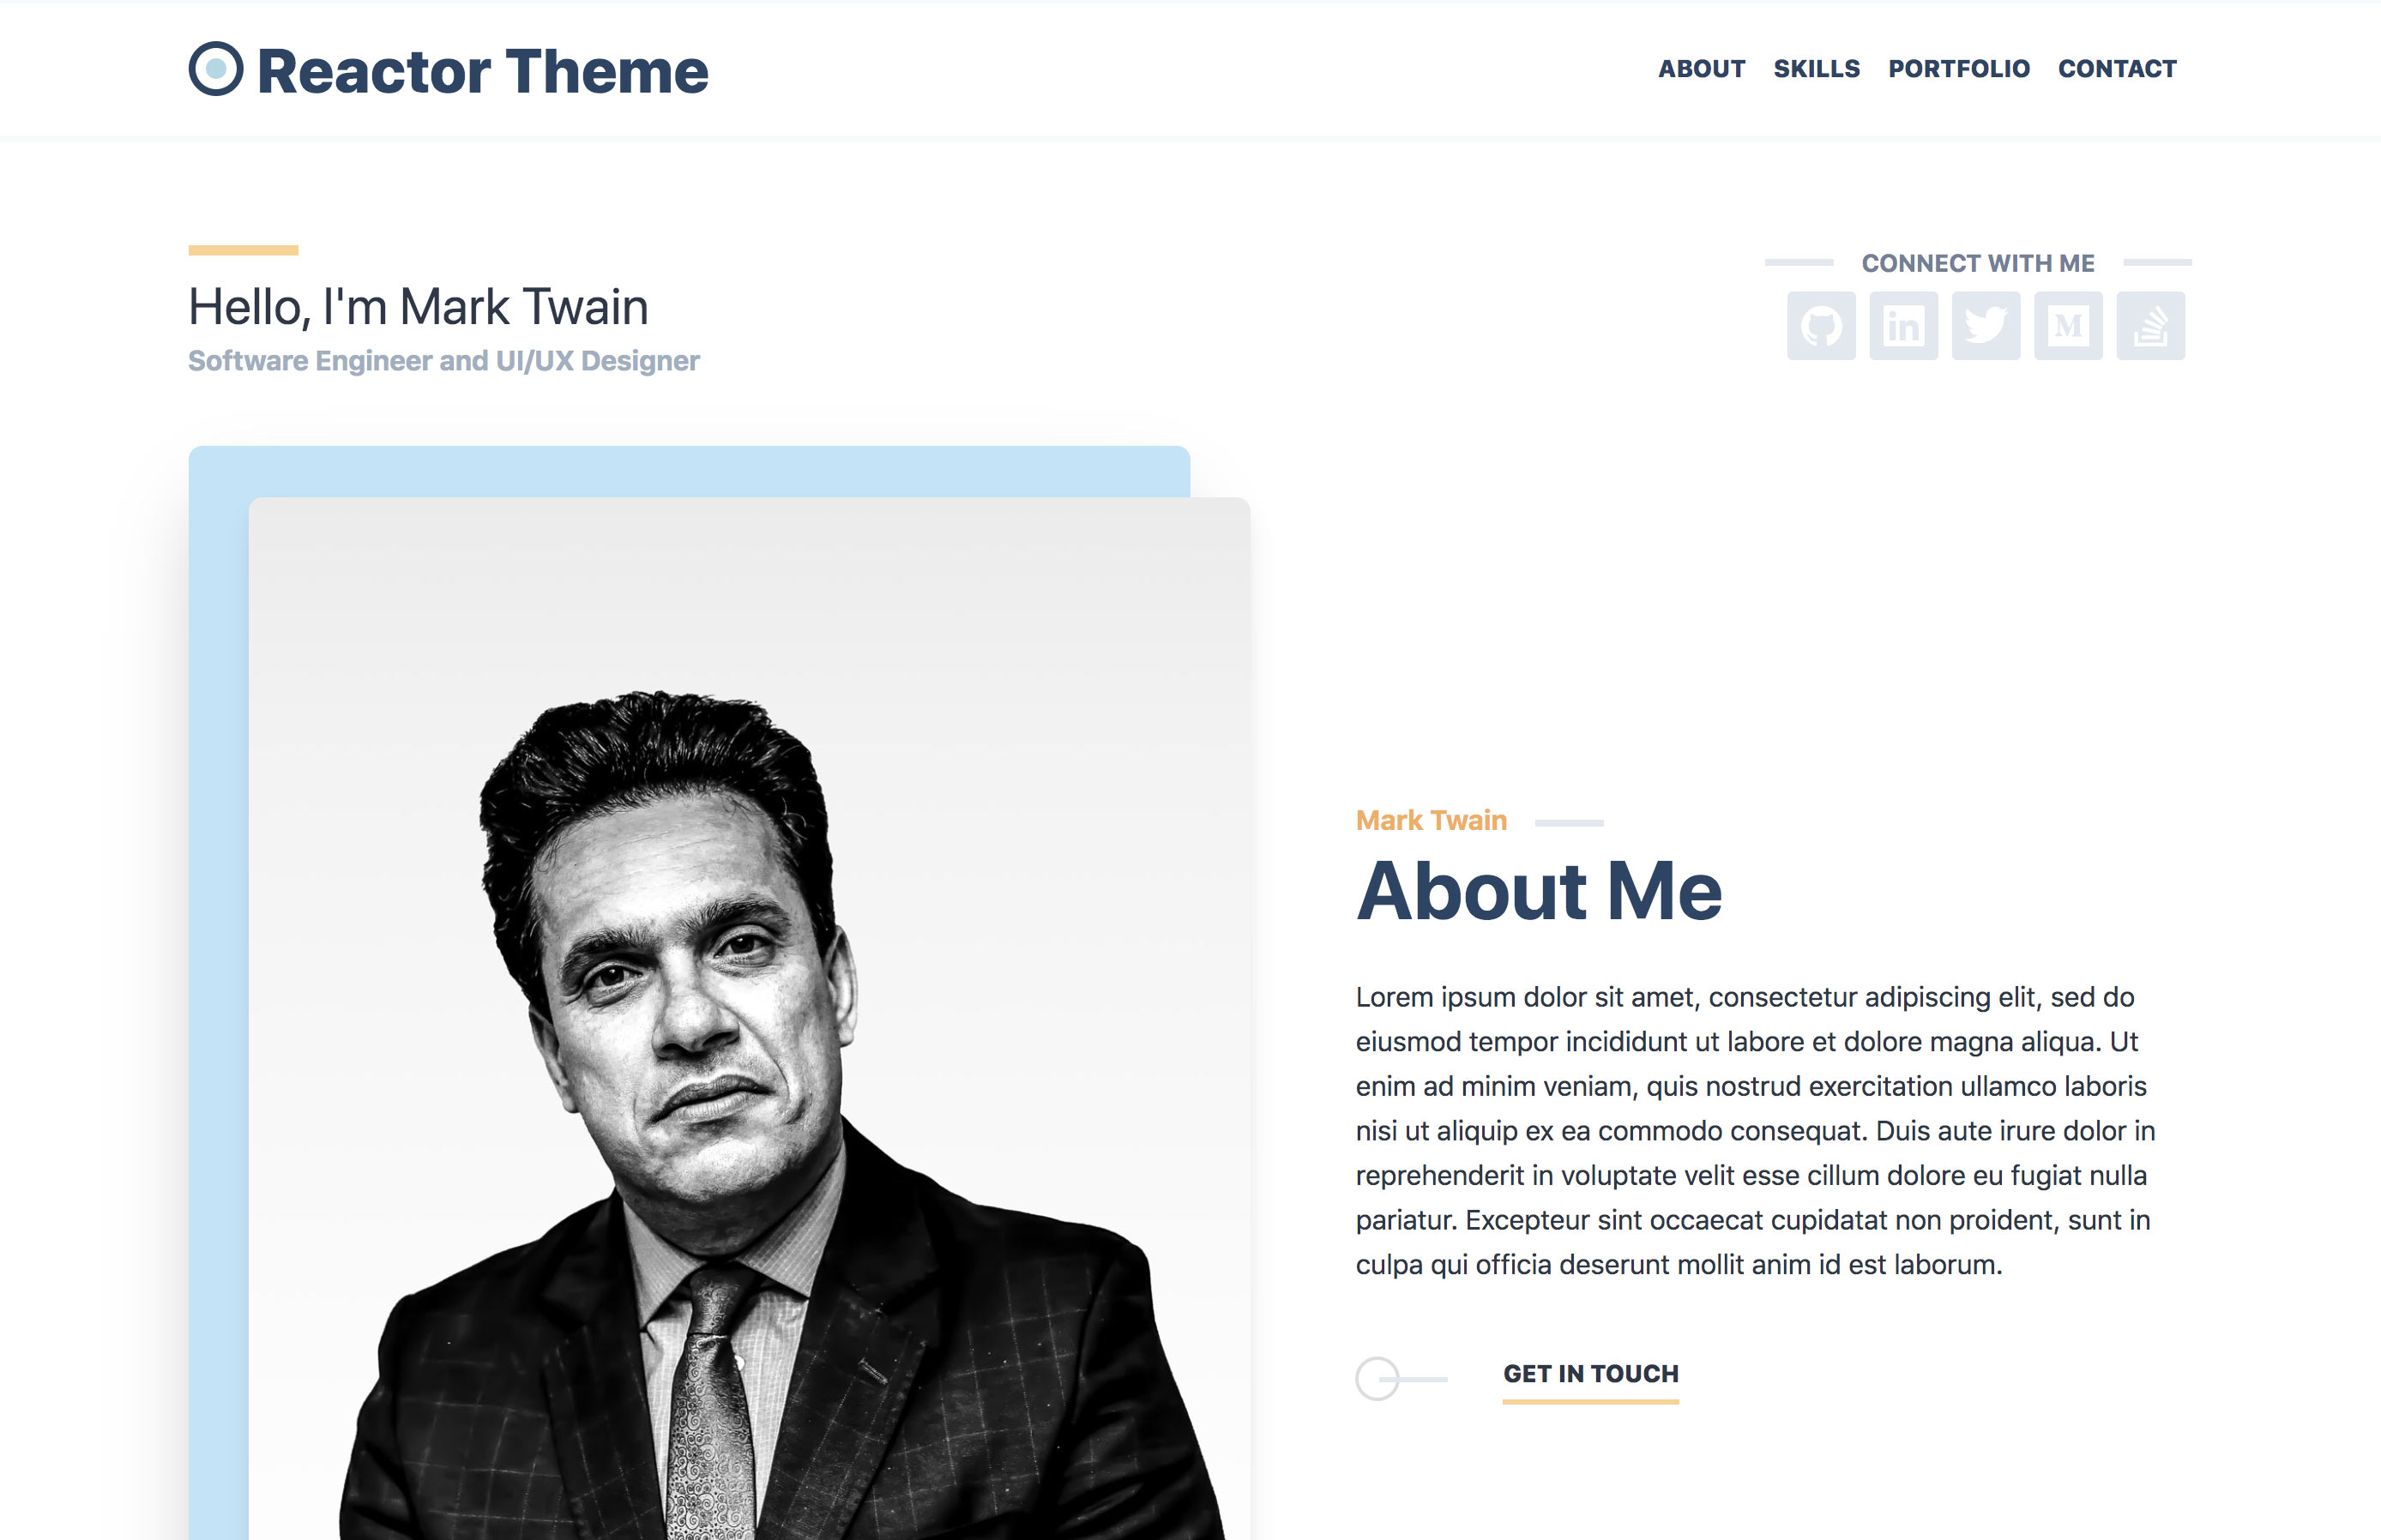
The theme has some data dependencies and sources the data for the website from JSON files located in /src/data/Bio.json folder (ie. my-portfolio/src/data/Bio.json). The Bio.json file contains all of the information about you the developer/designer and looks like:
{
  "name": "Mark Twain",
  "greeting": "Hello, I'm Mark Twain",
  "title": "Software Engineer and UI/UX Designer",
  "description": "Lorem ipsum dolor sit amet, consectetur adipiscing elit, sed do eiusmod tempor incididunt ut labore et dolore magna aliqua. Ut enim ad minim veniam, quis nostrud exercitation ullamco laboris nisi ut aliquip ex ea commodo consequat. Duis aute irure dolor in reprehenderit in voluptate velit esse cillum dolore eu fugiat nulla pariatur. Excepteur sint occaecat cupidatat non proident, sunt in culpa qui officia deserunt mollit anim id est laborum.",
  "social": [
    {
      "name": "Github",
      "url": "https://github.com"
    },
    {
      "name": "LinkedIn",
      "url": "https://linkedin.com"
    },
    {
      "name": "Twitter",
      "url": "https://twitter.com"
    },
    {
      "name": "Medium",
      "url": "https://medium.com"
    },
    {
      "name": "StackOverflow",
      "url": "https://stackoverflow.com"
    }
  ],
  "skills": [
    "vue.js", "react.js", "tailwind css", "theme-ui", "gatsby.js", "nuxt.js", "graphQL", "javascript", "koa.js", "strapi.io", "firebase", "mongo", "postgres", "adobe illustrator", "adobe photoshop", "adobe xd", "sass", "postcss", "mysql", "php", "eslint", "jest", "react-native", "vue-nativescript", "mobile", "web", "SQL", "docker", "linux", "ubuntu", "bash", "python"
  ],
  "location": "Boulder CO",
  "email": "[email protected]",
  "phone": "(987) 654-3210"
}
Most of the fields in this file are self explanatory but you can fill in your required information. If you do not have social accounts for any of the listed social options you can delete that item in the
socialarray of theBio.jsonfile.
Project Json
The Project.json file (located in /src/data/Project.json folder) contains information about projects you’ve worked on which represent your portfolio/work. There will be a page on your website created for each of your projects located at: www.domain.com/project/my-project-name and the Project.json file should look like:
[
  {
    "name": "Project One",
    "url": "https://example.com",
    "technologies": ["Nuxt.js", "Bootstrap CSS", "GSAP"],
    "start": "2018-10-15",
    "end": "2020-01-15",
    "description": "Lorem ipsum dolor sit amet, consectetur adipiscing elit, sed do eiusmod tempor incididunt ut labore et dolore magna aliqua."
  },
  {
    "name": "Project Two",
    "url": "https://example.com",
    "technologies": ["Nuxt.js", "Firebase", "Bulma CSS"],
    "start": "2018-10-15",
    "end": "2020-01-15",
    "description": "Lorem ipsum dolor sit amet, consectetur adipiscing elit, sed do eiusmod tempor incididunt ut labore et dolore magna aliqua."
  },
  {
    "name": "Project Three",
    "url": "https://example.com",
    "technologies": ["Nuxt.js", "Strapi.io", "Tailwind CSS"],
    "start": "2018-10-15",
    "end": "2020-01-15",
    "description": "Lorem ipsum dolor sit amet, consectetur adipiscing elit, sed do eiusmod tempor incididunt ut labore et dolore magna aliqua."
  }
]
Project Images
Project images can be created in your /src/data/images directory and will need need to be “slugified” versions of the project name. For example, if you have a project named: “My Special Project” you can add an image for the project to /src/data/images named my-special-project.jpg or my-special-project.png (supported files are .jpg, .png, .gif files) and the Gatsby Reactor Theme will resolve to find the image and attach it to the project to be displayed on the project’s individual page. The recommended aspect ratio for images is 1:2 (ie. 500px wide by 1000px height) as they are meant to be “mobile screenshots” of the project work.
Demo of an individual projct page
If you add “slugified” project images after you have run the
yarn run developoryarn run buildcommand and they are not showing up on the individual project page you may need to runyarn run cleanto clean the Gatsby cache.
Profile
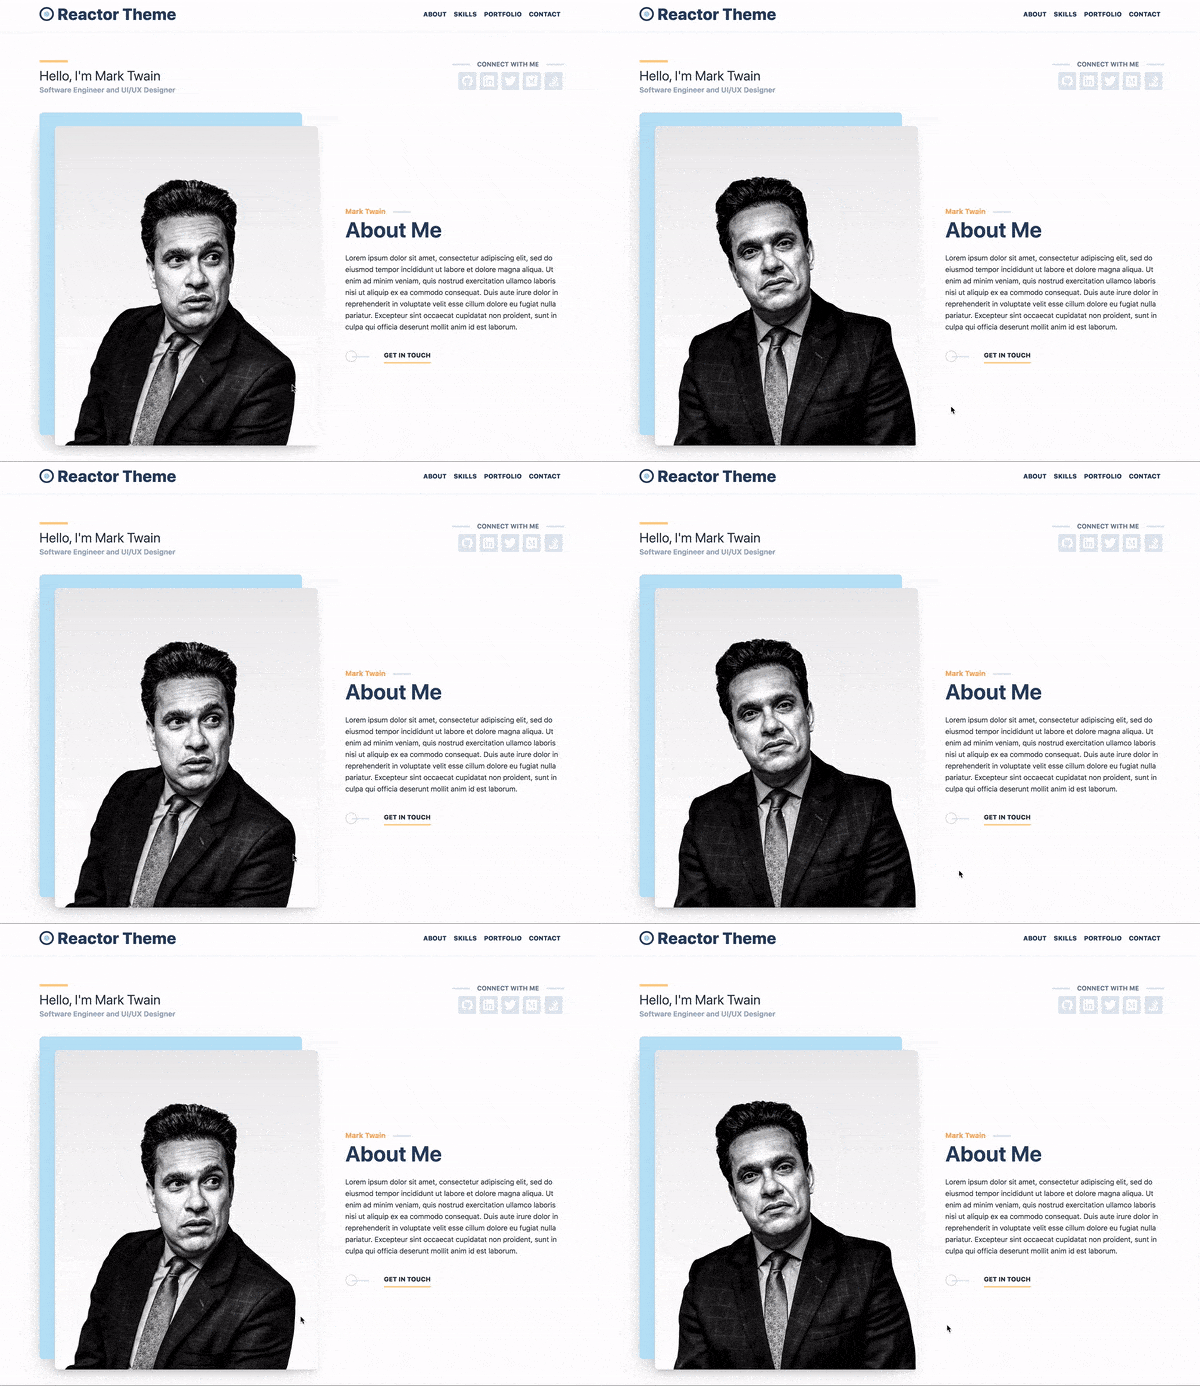
The two images profile.jpg and profile-alt.jpg are required and will need to be uploaded to the folder /src/data/images and need to be named profile.jpg and profile-alt.jpg respectively in order to allow for the hover affect of the profile image:

Theme Customizations
The Gatsby Reactor Theme follows that gatsby theme inheritance modeel and can be customized to fit your needs. Below are instructions for theme customizations.
Theme Colors and Definitions
This theme utilizes gatsby-plugin-theme-ui with a strong dependency on the Tailwind CSS Preset. The preset configuration can be overriden (for example to set the theme’s primary color) by creating an index.js file located at /src/gatsby-plugin-theme-ui/index.js which would look like:
import { tailwind } from '@theme-ui/presets'

export default {
  ...tailwind,
  colors: {
    ...tailwind.colors,
    primary: tailwind.colors.blue[9]
  },
  sizes: {
    ...tailwind.sizes,
    container: 1200
  },
  fonts: {
    ...tailwind.fonts,
    heading: `'Titillium', ${tailwind.fonts.sans}`
  }
}
As you can see in the example above we are setting the theme’s primary color to tailwind’s tailwind.colors.blue[9] and we are also setting the header font to be 'Titillium' webfont which we have included by using the gatsby-plugin-web-font-loader. If you decide to change the heading font for the theme you will need to define the @font-face with the definitions to the font files in your project or use the plugin mentioned above gatsby-plugin-web-font-loader to include the required font.
Adding Custom Favicon
The theme resolves the path of the favicon to /images/favicon.ico and favicon size variations 16×16, 32×32 as well as apple-touch-icon 180×180. At a minimum you can create a custom favicon.ico and place it in /static/images/ directory which will need to be created in your project’s root:
  <link rel="icon" href={'/images/favicon.ico'} />
  <link rel="icon" type="image/png" sizes="16x16" href={'/images/favicon-16x16.png'} />
  <link rel="icon" type="image/png" sizes="32x32" href={'/images/favicon-32x32.png'} />
  <link rel="apple-touch-icon" sizes="180x180" href={'/images/apple-touch-icon.png'} />
If you would like to use the favicon that is displayed in the site example you can find the favicon files here to place in your /static/images/ directory and they will be copied over at build time to resolve to /images/favicon.ico or /images/favicon-16x16.png respectively.
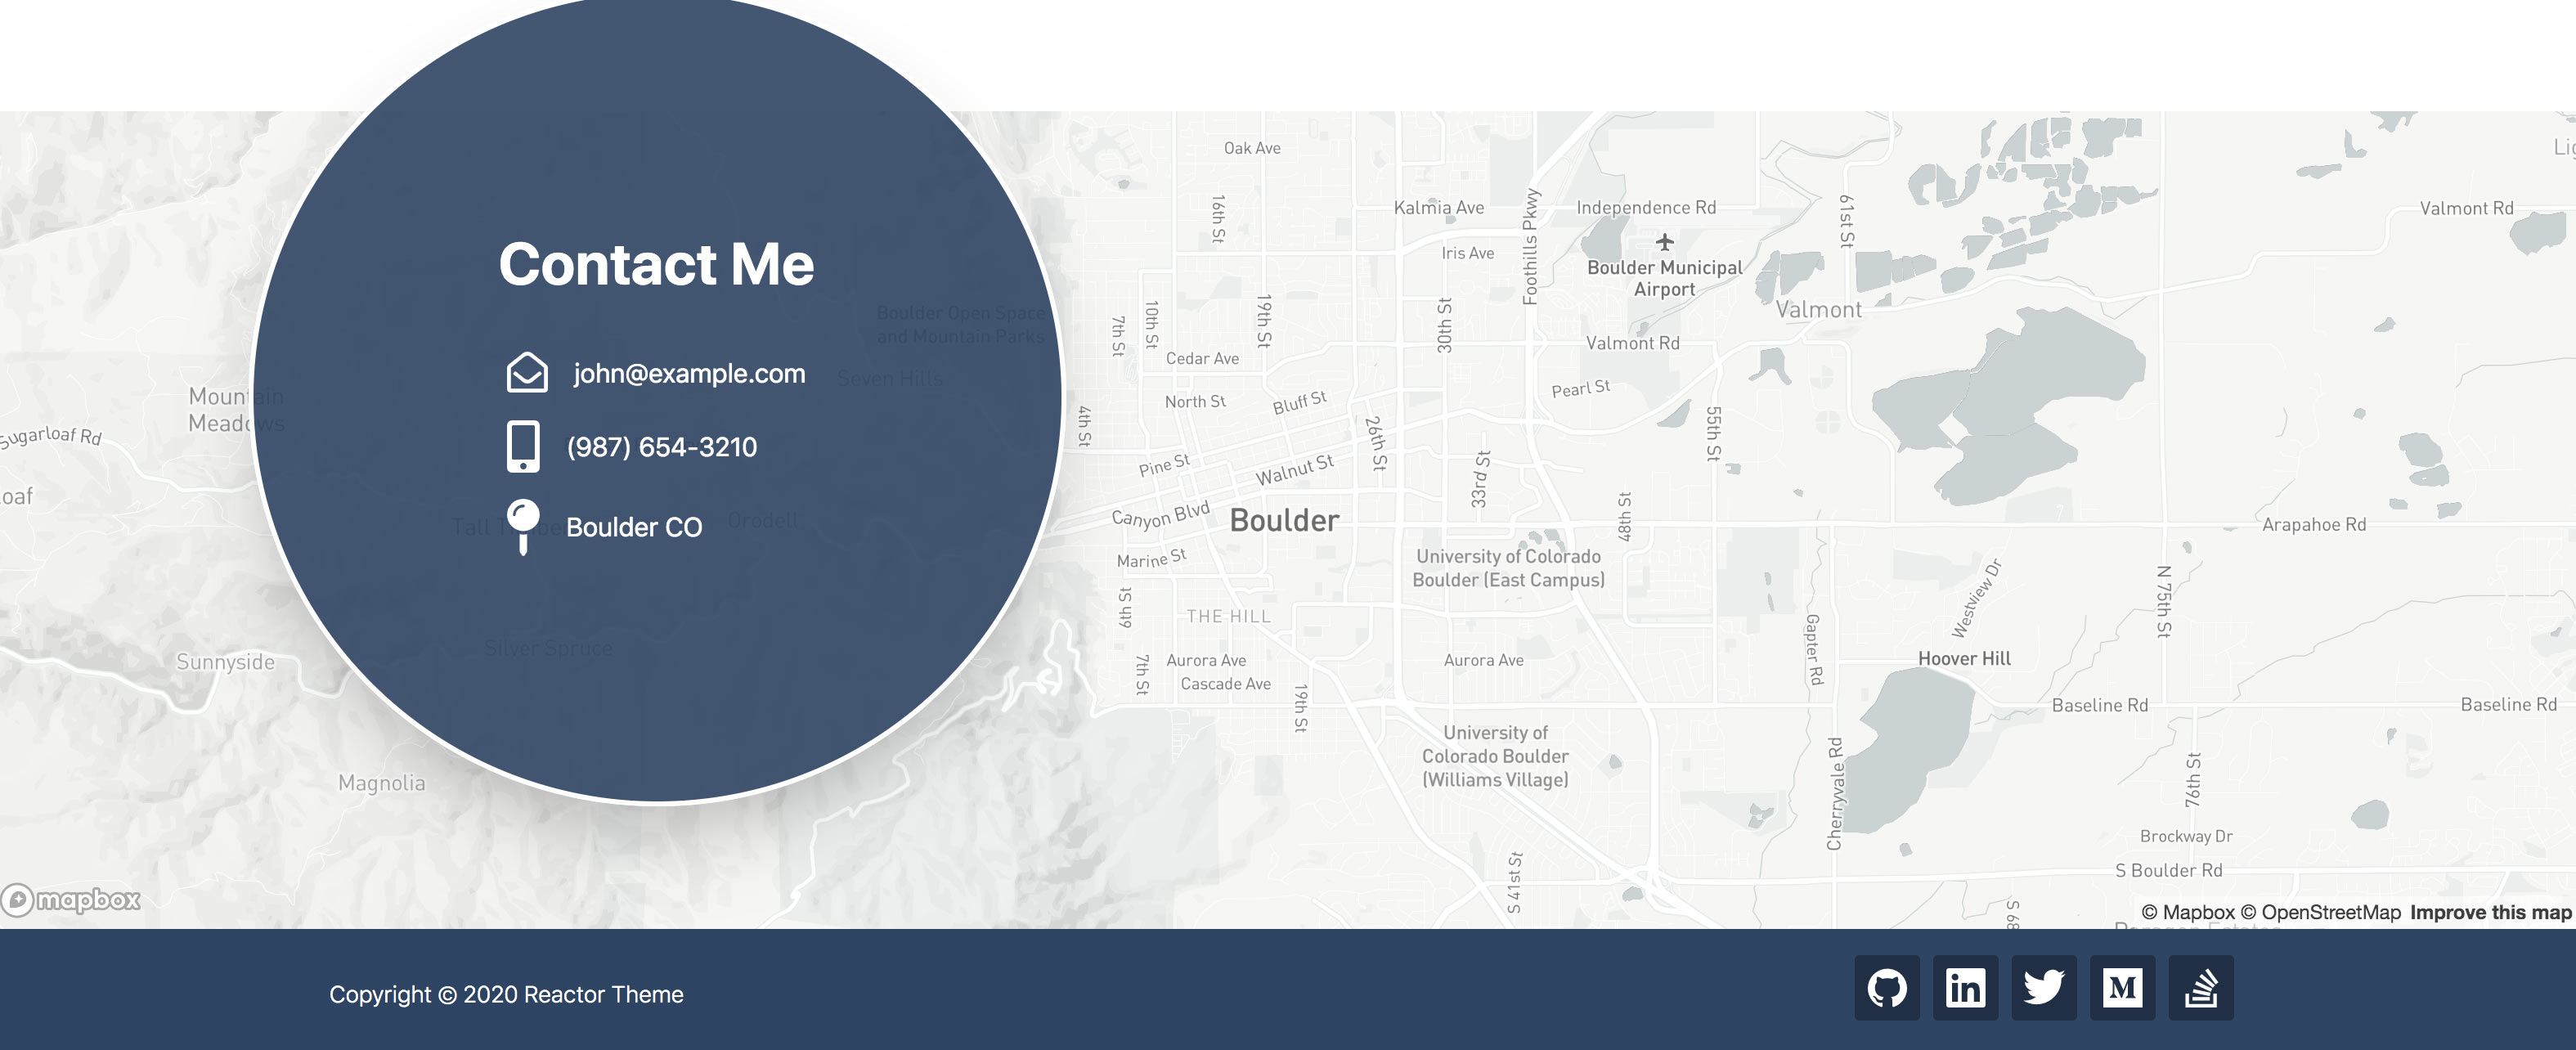
Mapbox Integration for Contact Section
 The theme relies on the Open Source mapping platform Mapbox and thus requires an
 environment variable to be be set that is called MAPBOX_ACCESS_TOKEN. For development build yarn run develop you will need to create a .env.development file in the root of your project with the definition for your Mapbox Access Token:
MAPBOX_ACCESS_TOKEN=<Your Access Token>
For production builds yarn run build you will either need a .env.production file with the same MAPBOX_ACCESS_TOKEN definition or if you are deploying to a Static Site Hosting Platform such as Netlify you will need to define the environment variable using the services’ recommended environment variable injection methods but You will need to prefix the env varible with GATSBY_ such that it is GATSBY_MAPBOX_ACCESS_TOKEN and gatsby will make the process.env.GATSBY_MAPBOX_ACCESS_TOKEN variable available to the Client-side Javascript for Mapbox purposes.
Deployment
It is recommended you deploy your Gatsby site using a Static Site Hosting Platform such as Netlify, Surge, Zeit, Heroku or any of the other available deployment platforms. You can find many articles on deploying for Gatsby in the Gatsby Deploying and Hosting Docs
Credits
The Gatsby Reactor Theme is creatively designed and developed by the team at Hash Interactive

